In this tutorial you will learn how to create your own instance of MongoDB using Docker, and start using it configuring correctly Robo 3T.
Docker Desktop setup
It is easy to describe Docker. It is a place where you can instantiate everything you want, and make it live on its own. Simple as that. Why you should need that? Well, there are a lot of reasons:
- You could create a complex test scenario, and freeze it creating your own image. Then, everytime you have to start from that exact situation, you “un-freeze” that image (technically “run it as a container”) and in a few seconds it’s ready. When you have done with your tests, you can destroy it: the next time you just have to “un-freeze” the same image, and repeat that over and over and over, as much you need. Cool, isn’t it?
- You want to test something new but you don’t want to mess up your local PC. There is an image for everything you could ever want, just Google it (or, better, “Duck Duck Go” it).
- You want to share the exact status of a software, and being sure that it is exactly the same, no matter where you are running it.
- You want to isolate the image. In fact, as the word “container” suggests, when the image is running as a container it is securely isolated from the rest of the system.
Those are just some example scenarios, but I think you got the basic idea. There is also Docker Hub, a place where everyone can share his/her own images with other people. As a private user, you can freely have unlimited public repositories and just one private repository.
First of all, be sure to install Docker Desktop. Once downloaded, perform the setup, it is quite strightforward.
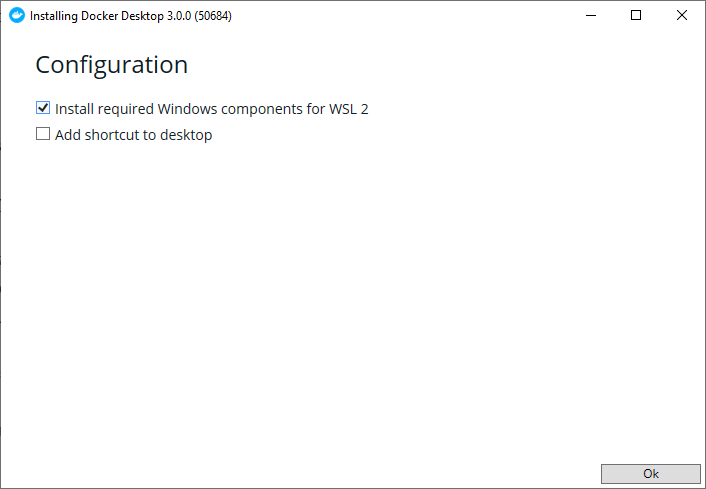
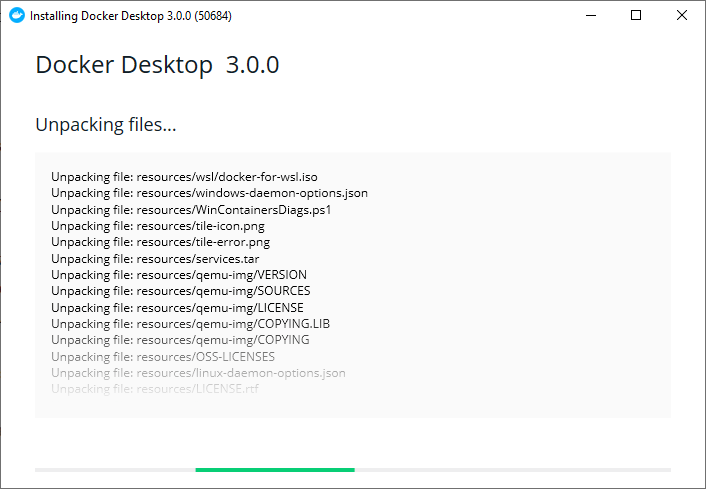
It will take a few minutes, so be patient! If you are using Windows, you must enable Windows Hypervisor into your system features (just press the windows button, digit “features” and press ENTER).
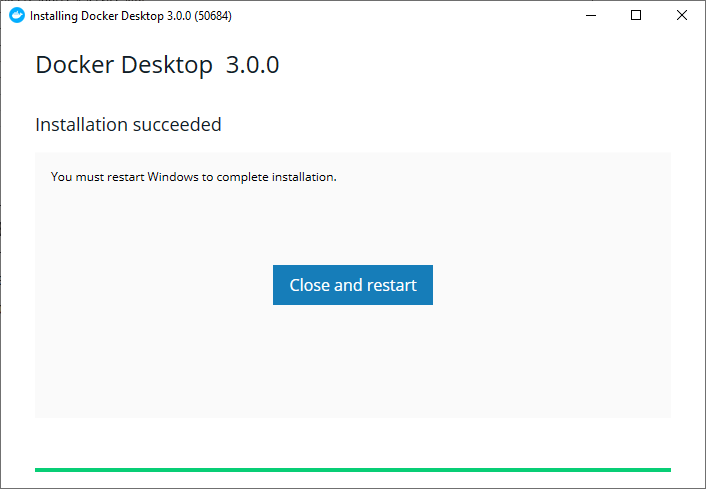
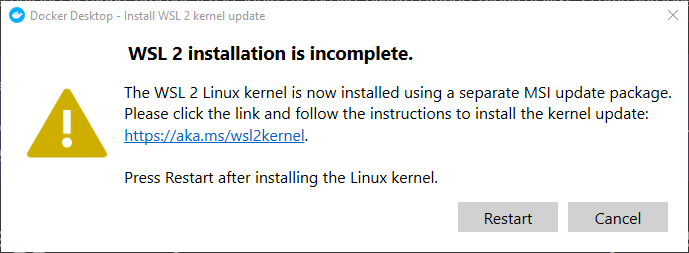
Once the setup is completed, reboot your computer. It might ask you to install WSL 2 Linux kernel. If you need to do it, click on the provided link, download and install the package (it is really quick!), restart Docker Desktop and you are good to go.
Then double click the whale in the tray bar, and Docker Desktop should show up. Hello world!
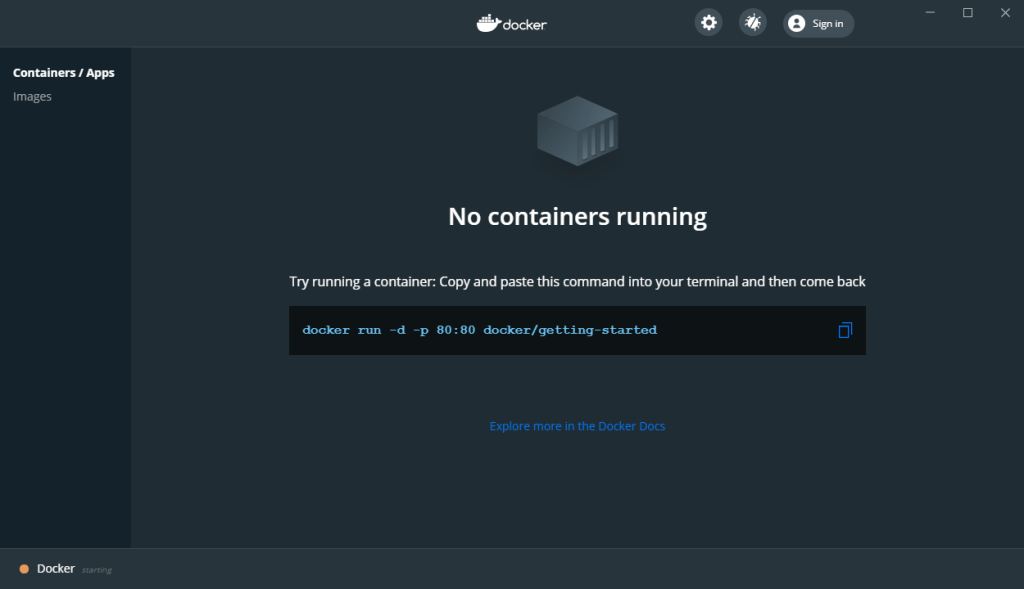
Yeah, we did it! Now it’s time to install MongoDB.
Run MongoDB image as a container
Who have never heard about MongoDB? It is “a general purpose, document-based, distributed database built for modern application developers and for the cloud era”. Basically, it is designed to store a lot of documents and to allow you a really quick direct access.
If you are comfortable with old-fashioned but still cool relational databases, you will be quite disappointed to know that MongoDB does not let you perform a JOIN on your data. But, what it does really well, is storing huge multimedial files. And save/load JSON really quick, that is really nice thing for web developers.
Grab your mongo image! Just open up your prompt and insert the following:
docker pull mongo
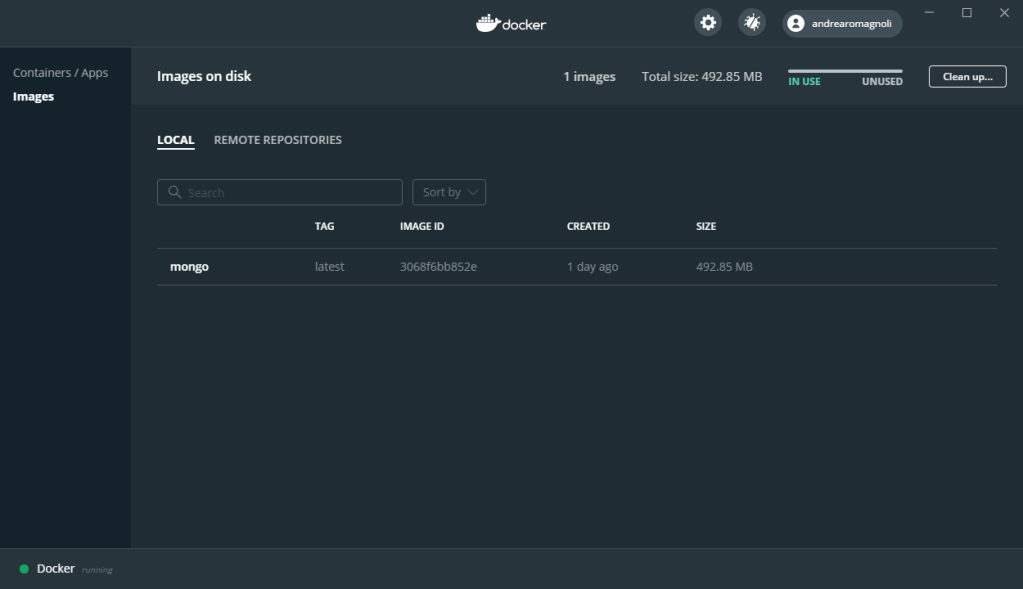
Once it finishes downloading it, open up Docker Desktop, select the image and press Run.
Insert a container name you like, for example “mongo” and set for your Local Host the port “27017”, that is the MongoDB default one. Allow the container to be visible inside the private network, otherwise you cannot connect to it, and then you are ready.
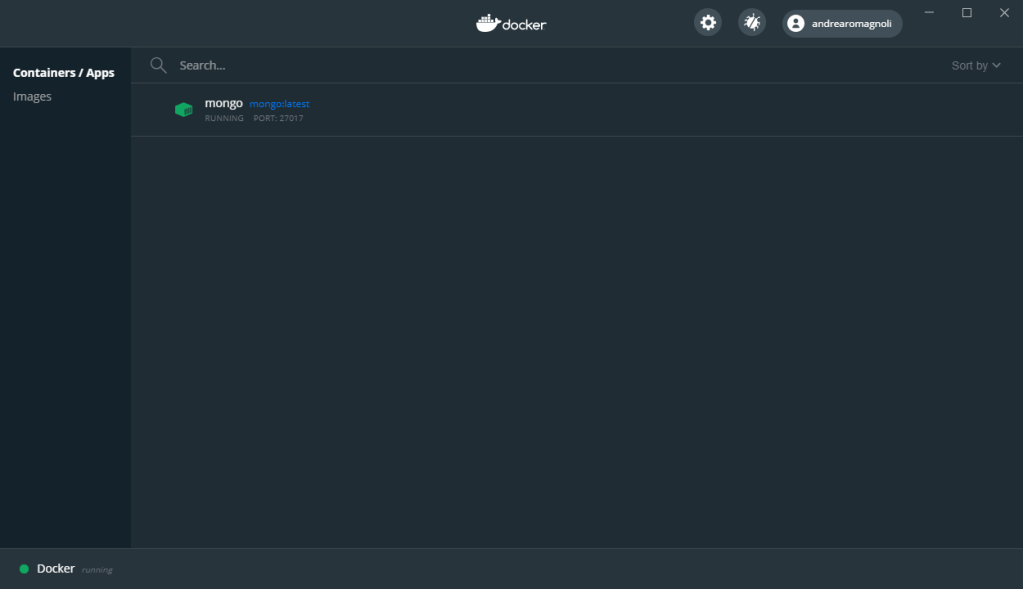
Congratulation! You are running your own MongoDB server on your local computer!
Connect Robo 3T to MongoDB
For this tutorial I will use Robo 3T. I really like it because it is open-source, lightweight and easy to use. If you need more advanced features I suggest you Studio 3T. This is the client that will allow you to insert, update, remove and retrieve your documents from the MongoDB server.
If you did your homework correctly, connecting Robo 3T with MongoDB should be ridicously easy.
Open up Robo 3T, click on File -> Connect, then Create, and leave everything with the default values. I changed only the connection name to “docker”, but it’s up to you how you want to name it.
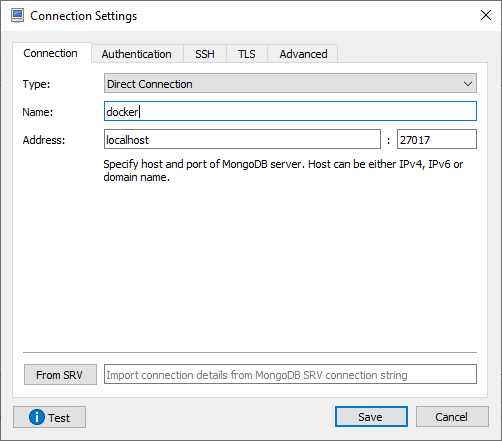
Save it, click on Connect and…Voilà! You are connected to your own MongoDB server!
Basic Robo 3T usage
Now I want to give you some basics about the MongoDB world using Robo 3T. First of all, if you come from relational databases, here you have only database layer and tables layers, without schemas. The database concept is the same, but the tables are called Collections. That is reasonable because they are literally “collections” of documents, where a documents it’s like a row of a relational database table.
With great power comes great responsibility! You do not have formal and strict table definition constraints, you can put (nearly) whatever you want in your collections.
Right click on your connection, create a new database (let’s call it “quickstart”), right click on the Collections folder inside that, right click and Create collection, let’s call it “test”. Right click on it and click Insert document, then copy and paste the following:
{
    "numeric_field": 1,
    "string_field": "string",
    "list_field": ["one", "two", "three"]
}
Click on Save, now you have inserted your first value. If you double click on the test collection, you can see that document.
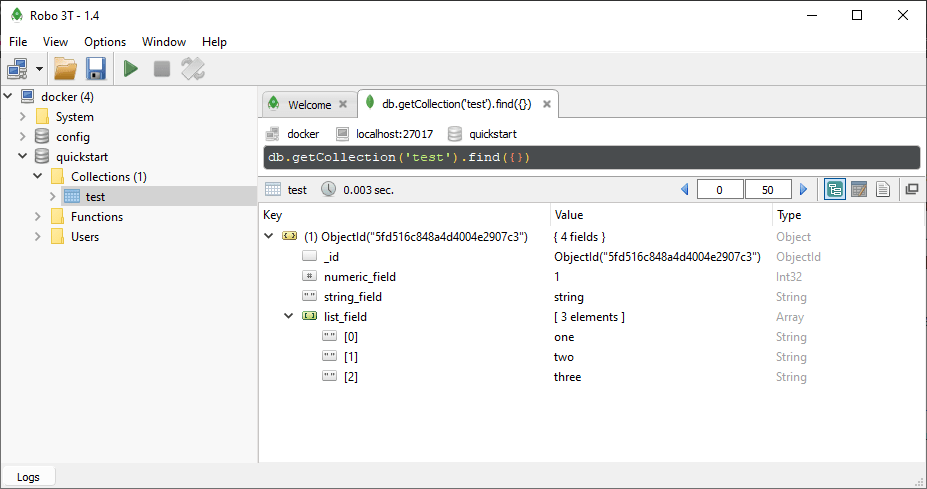
You did it! This is your first document. If you need more complex ways to query your documents, I think that it’s quite easy to follow the official documentation. You can put your commands directly on the black bar above the documents returned and press ENTER. There is a lot of things to explore, take your time and enjoy your journey to the MongoDB world!
Conclusions
Well, I think that’s it for now. You have learned what is MongoDB, what is Docker, how to create your own MongoDB server and manually populate/query it using Robo 3T. That’s a lot of stuff!
That was a quite easy tutorial, anyway I hope you enjoyed it. Having formatted my own PC, I thought that documenting the setup steps I had to do could be useful to some other guys.

Leave a comment